Install Windows XP Professional
I'm gonna describe here how to install Windows XP Professional edition, step by step, from a bootable CD.
1. Start the computer from the CD.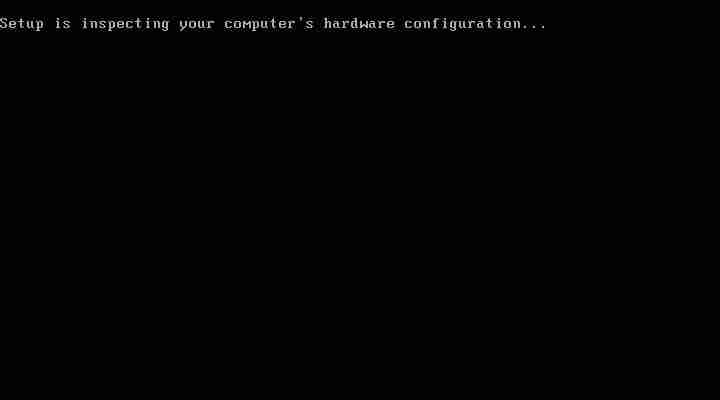
2. You can press F6 if you need to install additional SCSI adapters or other mass-storage devices. If you do you will be asked to supply a floppy disk with the drivers and you CANNOT browse it (or a CD for that matter). Make sure you have one handy.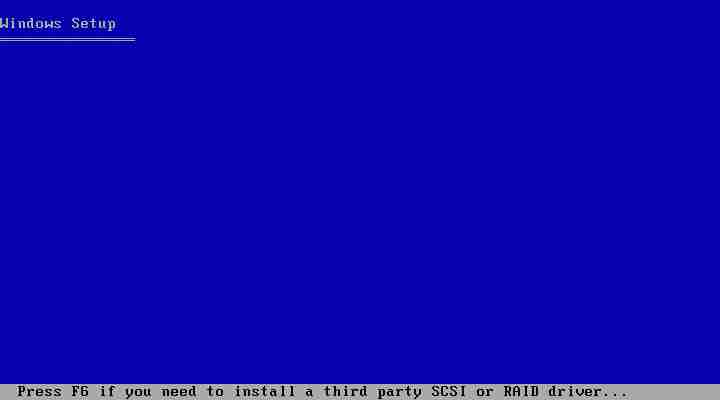
3.Setup will load all the needed files and drivers.
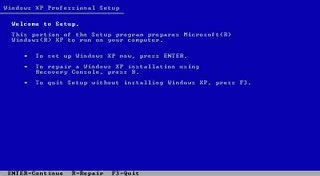
4.Select To Setup Windows XP Professional Now. If you want, and if you have a previous installation of XP, you can try to fix it by pressing R (only if you know what to do in the recovery console). If not, just press ENTER.
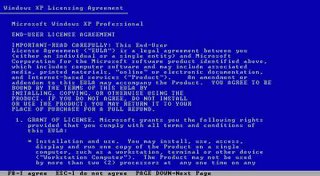
5.Read the licensing agreement and press F8 if you accept it.
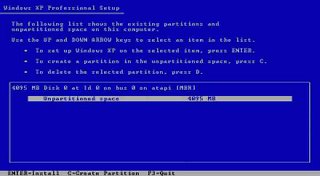
6.Select or create the partition on which you will install Windows XP Professional. Depending upon your existing disk configuration choose one of the following:
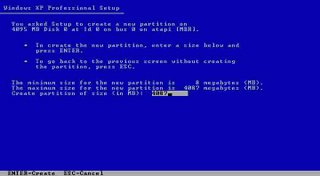
- If the hard disk is unpartitioned, you can create and size the partition on which you will install Windows XP Professional.

-
If the hard disk is already partitioned, but has enough unpartitioned disk space, you can create an additional partition in the unpartitioned space.
-
If the hard disk already has a partition that is large enough, you can install Windows XP Professional on that partition. If the partition has an existing operating system, you will overwrite that operating system if you accept the default installation path. However, files other than the operating system files, such as program files and data files, will not be overwritten.
-
If the hard disk has an existing partition, you can delete it to create more unpartitioned space for the new partition. Deleting an existing partition erases all data on that partition.

